
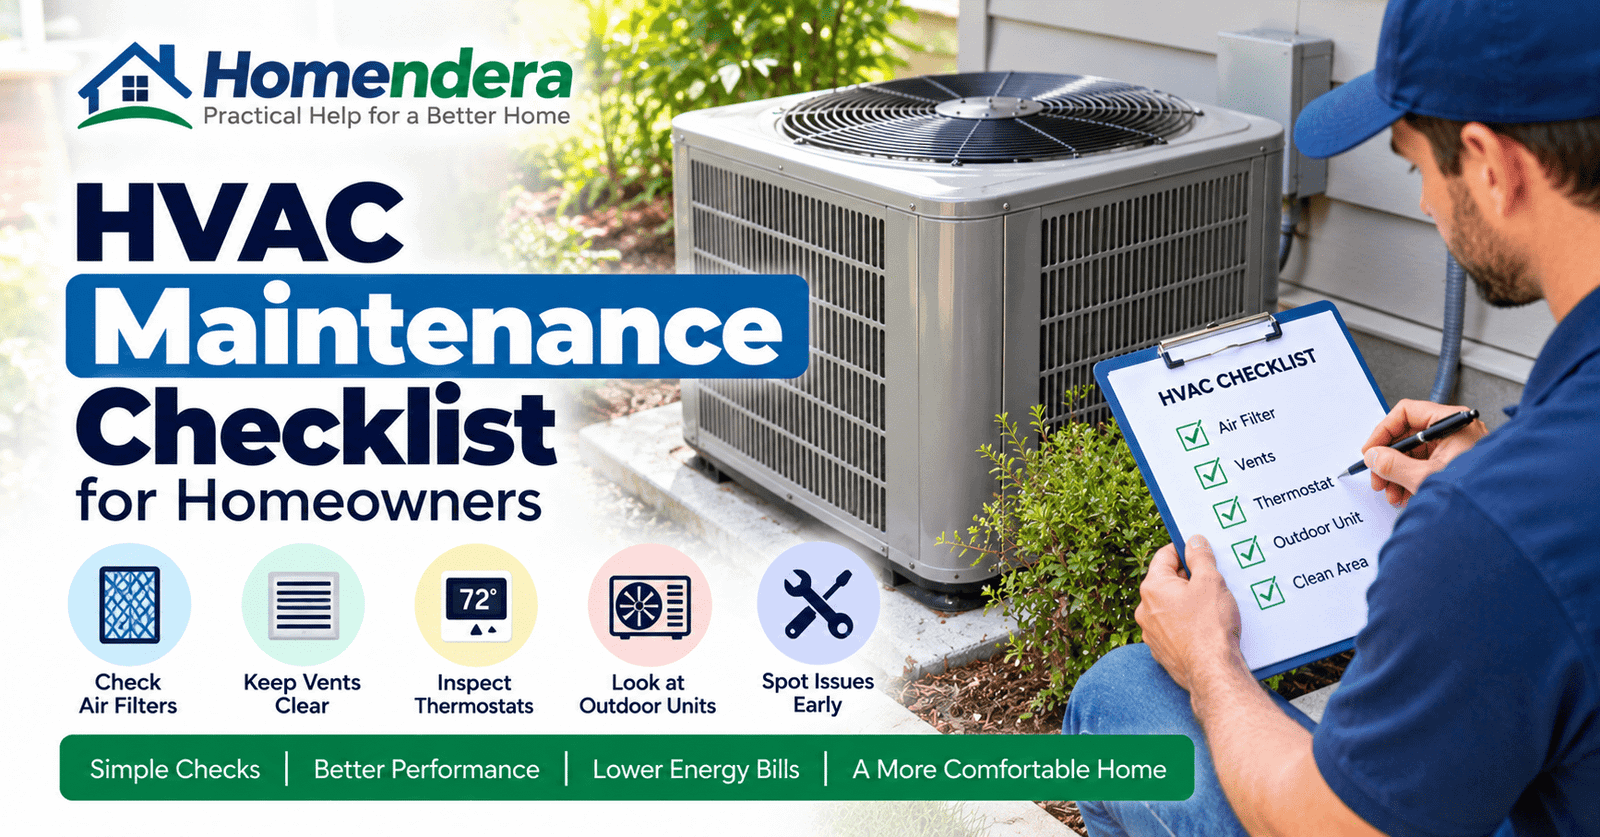
Your heating and cooling system works throughout the year to keep your home comfortable. However, small maintenance tasks are easy to overlook until the system starts making unusual noises, airflow becomes weak, or energy use increases.
A practical HVAC maintenance checklist can help you spot simple problems early. Some tasks are suitable for homeowners, while technical servicing should be left to a qualified HVAC professional.
This guide covers routine checks you can perform safely and explains when professional maintenance makes more sense.
Why Regular HVAC Maintenance Matters
Heating, ventilation, and air-conditioning equipment contains many parts that work together. Dust, blocked airflow, worn components, and neglected filters can affect how well the system operates.
Regular checks may help you:
- Maintain better airflow
- Keep filters from becoming excessively dirty
- Identify unusual sounds or odors
- Notice moisture or drainage problems
- Keep outdoor equipment clear
- Reduce unnecessary strain on the system
- Recognize problems before they become more serious
Maintenance cannot prevent every breakdown. Still, paying attention to your system makes it easier to notice when something changes.
1. Check the HVAC Air Filter
The air filter is one of the easiest parts of an HVAC system for a homeowner to inspect.
A dirty filter can restrict airflow. As a result, the system may need to work harder to move air through the home.
Locate the filter and check its condition regularly. If it looks heavily coated with dust or debris, replace it according to the system and filter manufacturer’s instructions.
Do not assume every filter follows the same replacement schedule. Filter type, household conditions, system usage, pets, and indoor air quality can all affect how quickly a filter becomes dirty.
We have covered this subject in more detail in our guide on how often you should change your HVAC air filter.
2. Keep Supply and Return Vents Clear
Walk through your home and inspect the visible air vents.
Furniture, rugs, curtains, boxes, and other objects can accidentally block them. Move obstructions away so air can circulate normally.
You can also remove visible dust from accessible vent covers.
Avoid reaching deeply into ductwork or dismantling parts of the ventilation system simply for routine cleaning.
3. Look for Changes in Airflow
Pay attention to the amount of air coming from your vents while the system operates.
One room may naturally receive somewhat different airflow from another. However, a noticeable change from normal deserves attention.
Weak airflow could relate to several issues, including a dirty filter, blocked vent, duct problem, blower issue, or another system fault.
Start with the simple checks you can perform safely. If airflow remains unusually weak, professional diagnosis may be necessary.
If one area remains uncomfortable while the rest of the home feels normal, see why one room is hotter or colder than the others to check airflow, windows, insulation, ductwork, and other possible causes.
4. Check the Thermostat
Make sure the thermostat display and settings appear normal.
Check that:
- The selected mode is appropriate
- The temperature setting is reasonable
- The display is functioning
- The programmed schedule is correct, if used
- Batteries are replaced when required
Sometimes an apparent heating or cooling problem starts with an incorrect thermostat setting rather than the HVAC equipment itself.
If the system behaves differently from the thermostat settings, further troubleshooting may be needed.
We have examined this separately in our guide to common thermostat problems.
5. Listen for Unusual HVAC Noises
You become familiar with the normal sounds your system makes. Therefore, a new noise can provide an early warning that something has changed.
Pay attention to persistent:
- Rattling
- Grinding
- Screeching
- Banging
- Buzzing
- Clicking
- Whistling
A loose vent cover may cause a simple rattle. On the other hand, mechanical or electrical problems can also produce unusual sounds.
Do not open equipment or reach toward moving components to investigate a noise. Shut the system down and seek professional help when the sound appears serious.
6. Pay Attention to Unusual Odors
An unusual smell from heating or cooling equipment should not automatically be ignored.
Musty odors may indicate moisture somewhere in the system or surrounding area. Persistent burning or electrical odors can indicate a more urgent problem.
If you notice a strong burning smell, smoke, signs of overheating, or another potentially dangerous condition, stop using the equipment when it is safe to do so and contact a qualified professional.
For suspected gas leaks or combustion-related hazards, leave the affected area and follow your local emergency or utility guidance.
7. Inspect the Area Around Indoor HVAC Equipment
Keep the space around accessible indoor HVAC equipment reasonably clean and uncluttered.
Look for:
- Water on the floor
- Rust or corrosion
- Loose visible panels
- Unusual stains
- Excessive dust
- Signs of pests
- Stored objects blocking equipment access
Do not use the equipment area as crowded storage space. Technicians also need safe access when maintenance or repairs are required.
8. Look for Water and Condensation Problems
Air-conditioning systems can produce condensation during normal operation. However, water appearing where it should not be deserves investigation.
Check accessible areas around the indoor unit for dripping, pooling water, staining, or persistent dampness.
Possible causes can include drainage problems or other HVAC issues.
Water can damage flooring, walls, ceilings, and nearby materials. Our guide to inspecting your home for water damage can help you identify additional warning signs elsewhere in the house.
9. Check Accessible Condensate Drain Areas
Some HVAC systems use a condensate drain to carry moisture away.
If the accessible portion of the drain appears blocked, overflowing, or unusually wet, do not ignore it.
Homeowners should avoid dismantling equipment or using unsuitable chemicals in HVAC drainage components. The correct maintenance procedure depends on the particular system.
Follow the manufacturer’s instructions or have an HVAC technician inspect the drainage system if you are unsure.
Unexpected moisture around cooling equipment can indicate a clogged condensate drain or another system problem. Our guide on why an air conditioner leaks water explains the common causes and when professional servicing is necessary.
10. Inspect the Outdoor Unit
If your home has an outdoor air-conditioning or heat-pump unit, visually inspect the surrounding area.
Leaves, grass, weeds, dirt, and other debris can accumulate around the equipment.
Keep vegetation and stored objects from crowding the unit. The equipment needs adequate space for airflow.
Before performing any cleaning beyond a basic visual inspection, follow the manufacturer’s instructions and appropriate electrical safety procedures.
Never open electrical compartments or remove protective panels unless you are qualified to do so.
11. Look at the Outdoor Unit After Severe Weather
Storms, strong winds, falling branches, snow, and other weather conditions can affect outdoor equipment.
After severe weather, inspect the unit from a safe position.
Look for obvious damage, heavy debris, or objects resting against it.
Do not operate visibly damaged equipment simply to see whether it still works. A professional inspection is safer when significant damage has occurred.
12. Check Doors and Windows for Air Leaks
HVAC efficiency is not determined by the equipment alone.
Gaps around doors and windows can allow conditioned indoor air to escape while outdoor air enters the home.
Inspect accessible weatherstripping and seals periodically. Replace deteriorated materials when appropriate.
These small maintenance tasks can complement broader efforts to reduce heating and cooling costs at home.
13. Keep Interior Doors and Air Paths in Mind
Closing vents or blocking airflow in an attempt to save energy can sometimes interfere with how a system was designed to operate.
Avoid making major changes to airflow without understanding your HVAC system.
If certain rooms remain consistently uncomfortable, the cause could involve insulation, ductwork, air balancing, equipment sizing, sunlight, or other factors.
A qualified technician can investigate persistent temperature differences.
14. Watch for Short Cycling
Short cycling occurs when heating or cooling equipment starts and stops unusually frequently instead of completing more normal operating cycles.
Several different conditions can contribute to this behavior.
Check simple factors first, such as thermostat settings and an excessively dirty filter. If frequent cycling continues, arrange a professional inspection rather than repeatedly adjusting the system.
15. Notice Changes in Heating or Cooling Performance
A system that suddenly takes much longer to reach the desired temperature may be telling you something.
For example, you might notice that:
- The AC runs but the house remains warm
- Heating takes much longer than before
- Certain rooms become noticeably uncomfortable
- The system seems to run almost continuously
- Air from the vents feels different from normal
Do not immediately assume the HVAC unit itself has failed. Filters, thermostat settings, airflow, weather conditions, insulation, and other factors can affect comfort.
Our article on why an AC is running but not cooling the house have covered common checks in more detail.
16. Compare Energy Use With Normal Patterns
An unexplained increase in energy use can sometimes accompany an HVAC problem.
However, higher bills do not automatically mean the equipment is faulty. Extreme weather, energy-price changes, additional occupants, longer operating hours, and other appliances can also affect consumption.
Compare similar periods when possible.
If energy use rises while HVAC performance becomes noticeably worse, it may be worth having the system inspected.
17. Do Not Ignore Repeated HVAC Problems
A problem that keeps returning deserves more attention than a one-time inconvenience.
Repeatedly resetting equipment, replacing unusually dirty filters, clearing the same drainage issue, or adjusting the thermostat without understanding the cause may hide a larger problem.
Record what happens and when it occurs. This information can also help a technician diagnose the system.
18. Schedule Professional HVAC Maintenance When Needed
Homeowner maintenance has limits.
Professional HVAC servicing may include tasks that require specialized tools, training, and access to internal components.
Depending on the system, a qualified technician may inspect electrical connections, mechanical components, refrigerant-related performance, combustion equipment, drainage, controls, and other areas that homeowners should not service themselves.
Follow the equipment manufacturer’s recommended maintenance schedule. Local climate, equipment type, age, and usage may also influence how often professional servicing makes sense.
If your cooling system suddenly starts producing warm air, our guide to common causes of AC blowing warm air explains what homeowners can safely check before calling an HVAC technician.
HVAC Tasks Homeowners Should Approach Carefully
Some HVAC jobs should not become DIY experiments.
Avoid working on:
- Refrigerant systems
- Internal electrical components
- Gas lines
- Combustion controls
- Burners
- Sealed equipment
- Major blower or motor components
- Complex duct modifications
Also avoid bypassing safety switches or protective controls.
If a repair requires technical knowledge you do not have, professional service is the safer choice.
Seasonal HVAC Maintenance
Different parts of the system receive heavier use at different times of year.
Before a high-use cooling period, check filters, thermostat operation, vents, and accessible outdoor equipment. Likewise, inspect the heating system before extended cold-weather use.
Seasonal HVAC checks fit naturally into a broader seasonal home maintenance checklist. Combining the two can make routine maintenance easier to remember.
Simple HVAC Maintenance Routine
You do not need to dismantle equipment to keep an eye on your HVAC system.
A practical routine can include checking the filter, keeping vents unobstructed, observing thermostat operation, looking for moisture, listening for unusual noises, and inspecting accessible indoor and outdoor areas.
Also note changes in comfort or system behavior.
These observations often provide more useful information than waiting until the equipment stops working completely.
New rattling, buzzing, grinding, or other unusual sounds can provide an early warning of trouble, so see why your HVAC is making noise before ignoring a change in how the system operates.
When to Call an HVAC Professional
Arrange professional assistance when you notice a problem that goes beyond safe routine maintenance.
Examples include persistent mechanical noises, electrical smells, repeated shutdowns, visible equipment damage, unexplained water leakage, serious airflow problems, or heating and cooling performance that continues to deteriorate.
Professional help is also appropriate whenever you cannot confidently identify the cause of a problem.
As with other household work, knowing your limits is part of good maintenance. Our guide to DIY vs professional repair explains how to make that decision more carefully.
Final Thoughts
A good HVAC maintenance checklist focuses on observation, cleanliness, airflow, and early detection rather than complicated repairs.
Check accessible components regularly and pay attention when the system begins behaving differently. Simple actions such as replacing a dirty filter or clearing an obstructed vent may help maintain normal operation.
At the same time, leave electrical, refrigerant, combustion, and other technical HVAC work to qualified professionals.
Regular attention to your heating and cooling system can become part of your wider home maintenance checklist, helping you care for the entire home rather than waiting for problems to become emergencies.