
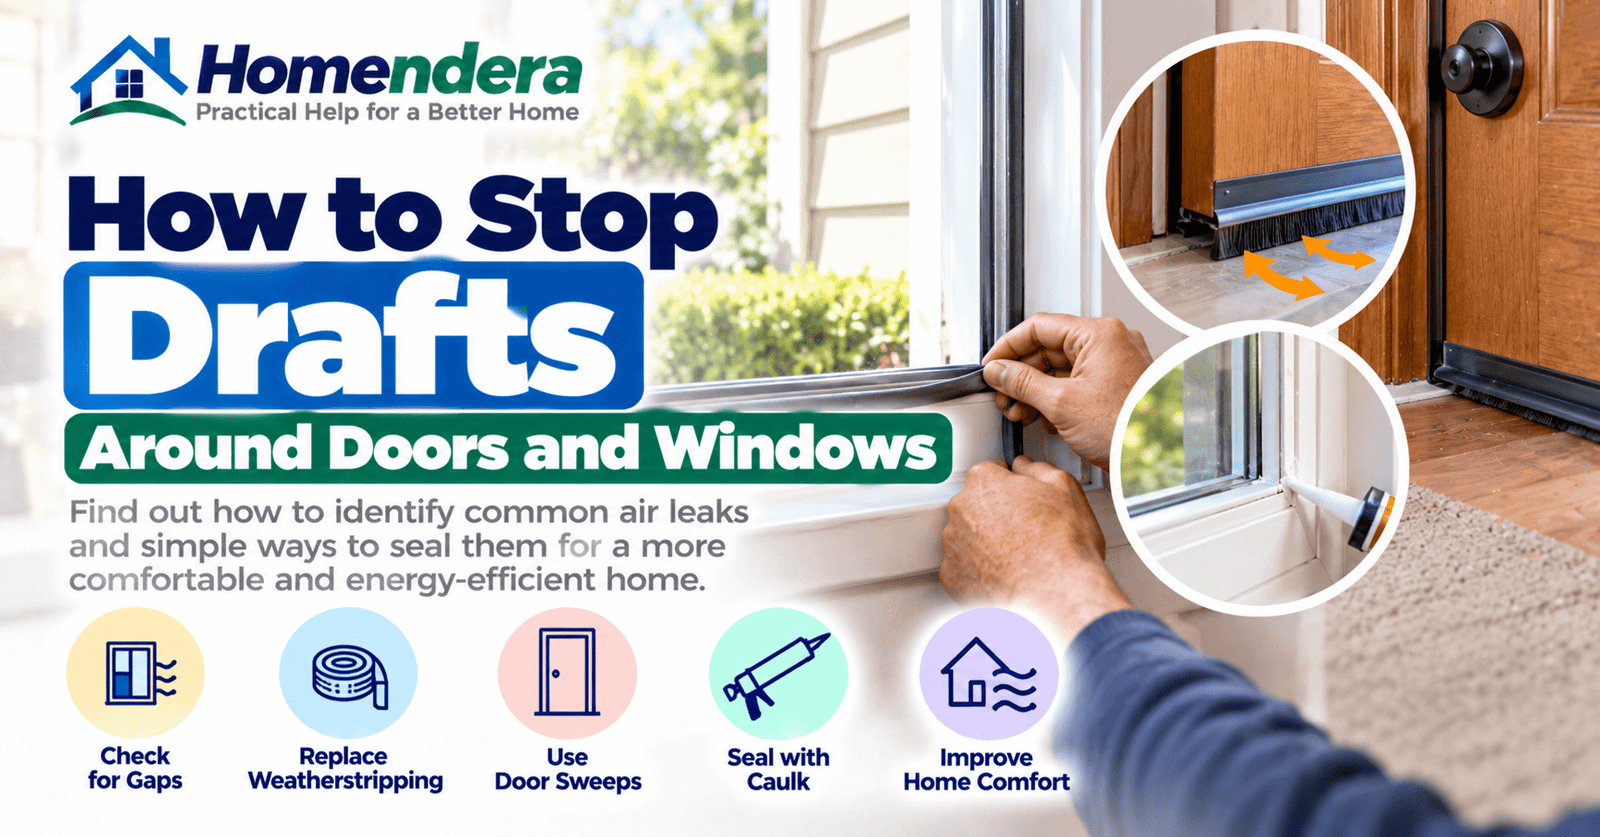
Drafts around doors and windows can make a comfortable room feel noticeably colder or warmer. They may also cause your heating or cooling system to work harder than necessary.
Fortunately, many drafts come from relatively simple problems. Worn weatherstripping, small gaps, deteriorated caulk, or a poorly fitting door can all allow outdoor air to enter the home.
This guide explains how to stop drafts around doors and windows, how to locate common air leaks, which simple repairs may help, and when the problem needs more than basic DIY work.
Why Do Doors and Windows Become Drafty?
Doors and windows form openings in the home’s exterior envelope. They need seals around their frames and moving parts to limit unwanted air movement.
Over time, those seals can deteriorate.
Common causes include:
- Worn weatherstripping
- Cracked or missing caulk
- Poor door alignment
- Gaps beneath exterior doors
- Loose window components
- Damaged seals
- Frame movement
- Aging materials
- Improper installation
Before adding new sealing products, determine where the air is actually entering.
1. Start With a Visual Inspection
Inspect the door or window during daylight.
Look carefully around:
- Frame edges
- Corners
- Moving sections
- Existing weatherstripping
- Exterior caulk
- Door thresholds
- Window sashes
Look for obvious cracks, gaps, deterioration, or missing material.
If you can see daylight around a closed exterior door where there should be a seal, that area deserves attention.
2. Feel for Air Movement
On a windy or cold day, slowly move your hand around the perimeter of the closed door or window.
You may notice cooler or warmer air entering through a particular area.
Pay special attention to:
- Door bottoms
- Door corners
- Window sash edges
- Frame joints
- Lock areas
- Areas with damaged seals
This simple check can help narrow down the problem before you buy materials.
3. Be Careful With Flame-Based Draft Tests
You may see advice recommending a candle, lighter, or other flame to detect air movement.
For routine homeowner checks, it is safer to avoid open flames around curtains, blinds, woodwork, insulation, and other combustible materials.
Visual inspection and feeling for air movement are usually better starting points.
Professional energy assessments can use specialized equipment when more precise testing is needed.
4. Inspect Door Weatherstripping
Weatherstripping helps seal the small space between a closed door and its frame.
Inspect the existing material.
It may need attention if it is:
- Cracked
- Torn
- Flattened
- Brittle
- Loose
- Missing in places
- No longer contacting the door
Close the door and examine whether the seal makes reasonably consistent contact around the perimeter.
5. Replace Worn Weatherstripping
If the existing weatherstripping has deteriorated, replacement can reduce drafts.
Different doors use different types of seals, so inspect what is already installed before buying new material.
Measure carefully.
The replacement should create a useful seal without making the door difficult to close.
Too much material can interfere with the latch or put unnecessary pressure on the door.
6. Check Whether the Door Is Properly Aligned
Do not assume weatherstripping is responsible for every draft.
A sagging or misaligned door may leave uneven gaps around the frame.
Look at the spacing around the closed door.
If one side has a much larger gap than another, alignment may be part of the problem.
Our guide on how to fix a door that won’t close properly explains common hinge, latch, rubbing, and alignment issues.
Correct the underlying door problem before trying to hide a large alignment gap with oversized weatherstripping.
7. Tighten Loose Hinges Where Appropriate
Loose hinge screws can allow a door to sag slightly.
Open the door and inspect accessible hinge screws.
If they are simply loose, careful tightening may improve the door’s position.
Do not overtighten screws or force stripped hardware.
A damaged hinge, deteriorated frame, or severely sagging door may need a more substantial repair.
8. Check the Bottom of Exterior Doors
The gap beneath an exterior door can be a significant source of unwanted air.
Inspect the bottom while the door is closed.
Depending on the design, the door may use:
- A door sweep
- Bottom weather seal
- Threshold
- Combination of these components
Look for wear, damage, missing sections, or an obvious gap.
9. Inspect the Door Sweep
A door sweep helps reduce the gap between the bottom of a door and the threshold.
If it is worn or damaged, replacement may help.
Choose a sweep compatible with the door type.
The sweep should make appropriate contact without dragging so heavily that the door becomes difficult to operate.
Exterior doors also need to manage water correctly, so do not make modifications that interfere with drainage.
10. Check the Threshold
The threshold forms part of the transition beneath many exterior doors.
A poorly adjusted, damaged, or deteriorated threshold can leave a gap.
Some thresholds have adjustment features, while others do not.
Follow the manufacturer’s instructions if adjustment is possible.
Do not raise a threshold so much that the door becomes difficult to close or creates a tripping hazard.
11. Inspect Window Weatherstripping
Operable windows often use seals around moving components.
Open the window where practical and inspect accessible weatherstripping.
Look for:
- Flattened sections
- Cracks
- Missing pieces
- Loose seals
- Dirt preventing good contact
Clean the area before deciding whether replacement is necessary.
Sometimes debris prevents a window from closing completely.
12. Make Sure the Window Closes and Locks Properly
Window locks often do more than provide security. On some designs, they also help pull components together so seals make proper contact.
Close the window fully and operate the lock.
If it will not close or lock correctly, do not simply add more weatherstripping.
There may be an alignment, hardware, frame, or installation problem.
Avoid forcing damaged locks or window components.
13. Check Caulk Around Window and Door Frames
Caulk is commonly used to seal appropriate stationary joints around frames and surrounding building materials.
Over time, exterior or interior caulk may:
- Crack
- Shrink
- Separate
- Peel
- Develop gaps
Inspect existing joints carefully.
Small deteriorated areas may allow air and sometimes moisture to enter.
14. Remove Failed Caulk Before Resealing
Applying new caulk directly over loose or deteriorated material often produces a poor result.
Where appropriate:
- Remove failed material carefully.
- Clean the joint.
- Allow damp areas to dry.
- Use a sealant suitable for the location and materials.
- Follow the manufacturer’s application and curing instructions.
Do not seal over unexplained moisture damage.
The source of water should be identified first.
15. Do Not Seal Intended Drainage Openings
Windows and doors may contain openings designed to drain water.
These can include weep holes or other manufacturer-designed drainage paths.
Do not fill every visible opening with caulk.
Blocking intended drainage can trap water and create more serious problems.
If you are uncertain whether an opening should be sealed, check the manufacturer’s documentation or ask a qualified professional.
16. Check for Water Damage Around Frames
Drafts and moisture sometimes occur together.
Inspect the surrounding wall, trim, sill, and floor for:
- Water stains
- Swelling
- Peeling paint
- Soft material
- Discoloration
- Musty odors
If you find these signs, our guide on how to inspect your home for water damage can help you investigate further.
Do not treat a leaking window as only an air-sealing problem.
17. Consider Window Coverings
Curtains, blinds, and shades do not repair air leaks, but appropriate window coverings can improve comfort.
They may help reduce:
- Direct solar heat
- Cold sensation near glass
- Unwanted glare
Use them as part of a broader comfort strategy rather than as a substitute for repairing obvious gaps.
This can complement other energy-efficient home improvements around the house.
18. Use Temporary Draft Solutions Carefully
Temporary products can sometimes help renters or homeowners who cannot immediately complete a permanent repair.
Depending on the situation, these may include removable draft-control products or seasonal window films designed for residential use.
Follow product instructions carefully.
Temporary measures should not hide:
- Rot
- Active leaks
- Broken windows
- Damaged frames
- Serious alignment problems
Permanent defects still need proper repair.
19. Do Not Block Required Ventilation
A home needs controlled ventilation.
The goal of draft sealing is to reduce unintended air leakage, not eliminate every source of fresh air without considering indoor air quality.
Never seal:
- Required combustion-air openings
- Purpose-built ventilation openings
- Exhaust systems
- Appliance vents
- Drainage openings
Homes with fuel-burning appliances deserve particular care because ventilation and combustion safety can be connected.
20. Pay Attention to Condensation
Condensation on windows does not automatically mean outdoor air is leaking through them.
It often involves indoor humidity, surface temperature, ventilation, and outdoor conditions.
However, persistent condensation can eventually damage frames and surrounding finishes.
Do not assume that caulking the window more heavily will solve a condensation problem.
The underlying moisture conditions need to be understood.
21. One Drafty Room May Explain Uneven Temperatures
If one room feels consistently colder in winter or warmer during hot weather, air leakage may be contributing.
Check the room’s windows and exterior doors along with its HVAC airflow.
Our guide explaining why one room is hotter or colder than the others covers additional causes such as blocked vents, insulation, sunlight, ductwork, and thermostat location.
Draft sealing may help, but it will not correct every uneven-temperature problem.
22. Check Frequently Used Doors More Often
Exterior doors that open many times each day experience more wear than rarely used doors.
Weatherstripping may compress, sweeps can deteriorate, and hardware can loosen.
Include these doors in routine home checks.
Our home maintenance checklist can help you organize other recurring inspections around the house.
23. Do Not Forget Less Obvious Exterior Doors
Homeowners often focus on the main entrance while overlooking:
- Patio doors
- Garage-to-house doors
- Basement entrances
- Utility-room doors
- Side entrances
Inspect all doors separating conditioned areas from outdoor or unconditioned spaces.
For doors between a garage and living space, do not make modifications that compromise required fire or safety features.
24. When Is the Frame the Real Problem?
Weatherstripping and caulk work best when the underlying door or window is structurally sound.
Professional repair may be appropriate if you notice:
- Significant frame movement
- Rot
- Serious deterioration
- Large uneven gaps
- Cracked components
- Repeated water intrusion
- Windows that will not close properly
- Doors that remain badly misaligned
Adding more sealant to a deteriorated frame is not a durable solution.
25. Should You Replace a Drafty Window?
A draft does not automatically mean the entire window needs replacement.
First investigate:
- Weatherstripping
- Locks
- Caulk
- Alignment
- Frame condition
- Installation gaps
Simple maintenance may solve the problem.
Replacement becomes more reasonable when the window itself is badly damaged, deteriorated, difficult to operate, or beyond practical repair.
26. Consider a Professional Energy Assessment
If the entire home feels drafty or energy costs seem unusually high, identifying individual gaps by hand may not reveal the whole picture.
Professional energy assessments may use tools such as:
- Blower-door testing
- Infrared imaging
- Airflow measurements
- Building-envelope inspection
These methods can identify air leakage that is difficult to locate visually.
They can also help prioritize improvements rather than sealing random areas.
27. When Should You Call a Professional?
Consider professional help when:
- A window or door frame is damaged
- Rot or significant deterioration is present
- Water enters around the opening
- A window will not close securely
- A door remains badly misaligned
- Large gaps remain after simple adjustments
- You suspect installation problems
- Drafts remain significant throughout the home
- You are uncertain about ventilation or combustion safety
A qualified professional can distinguish a simple sealing problem from a structural, installation, or moisture issue.
A Simple Draft-Checking Routine
Use this order when investigating a drafty door or window:
- Look for visible gaps.
- Feel for air movement.
- Inspect weatherstripping.
- Check whether the door or window closes correctly.
- Inspect door sweeps and thresholds where applicable.
- Examine stationary caulk joints.
- Look for moisture damage.
- Consider sunlight and window coverings.
- Repair simple worn seals where appropriate.
- Seek professional help for frame, installation, or persistent problems.
This keeps the process focused on the actual cause rather than adding sealing products everywhere.
Final Thoughts
Learning how to stop drafts around doors and windows starts with finding where unwanted air is entering.
Check weatherstripping, door sweeps, thresholds, window seals, frame joints, and caulk. Also make sure doors and windows close correctly before adding new sealing material.
Small gaps may be straightforward to correct. However, serious misalignment, deteriorated frames, water intrusion, or widespread air leakage deserves further investigation.
Good draft control can improve comfort and complement your heating and cooling system. The goal is not to seal the home blindly, but to reduce unintended air leakage while preserving proper drainage, ventilation, and safety.