
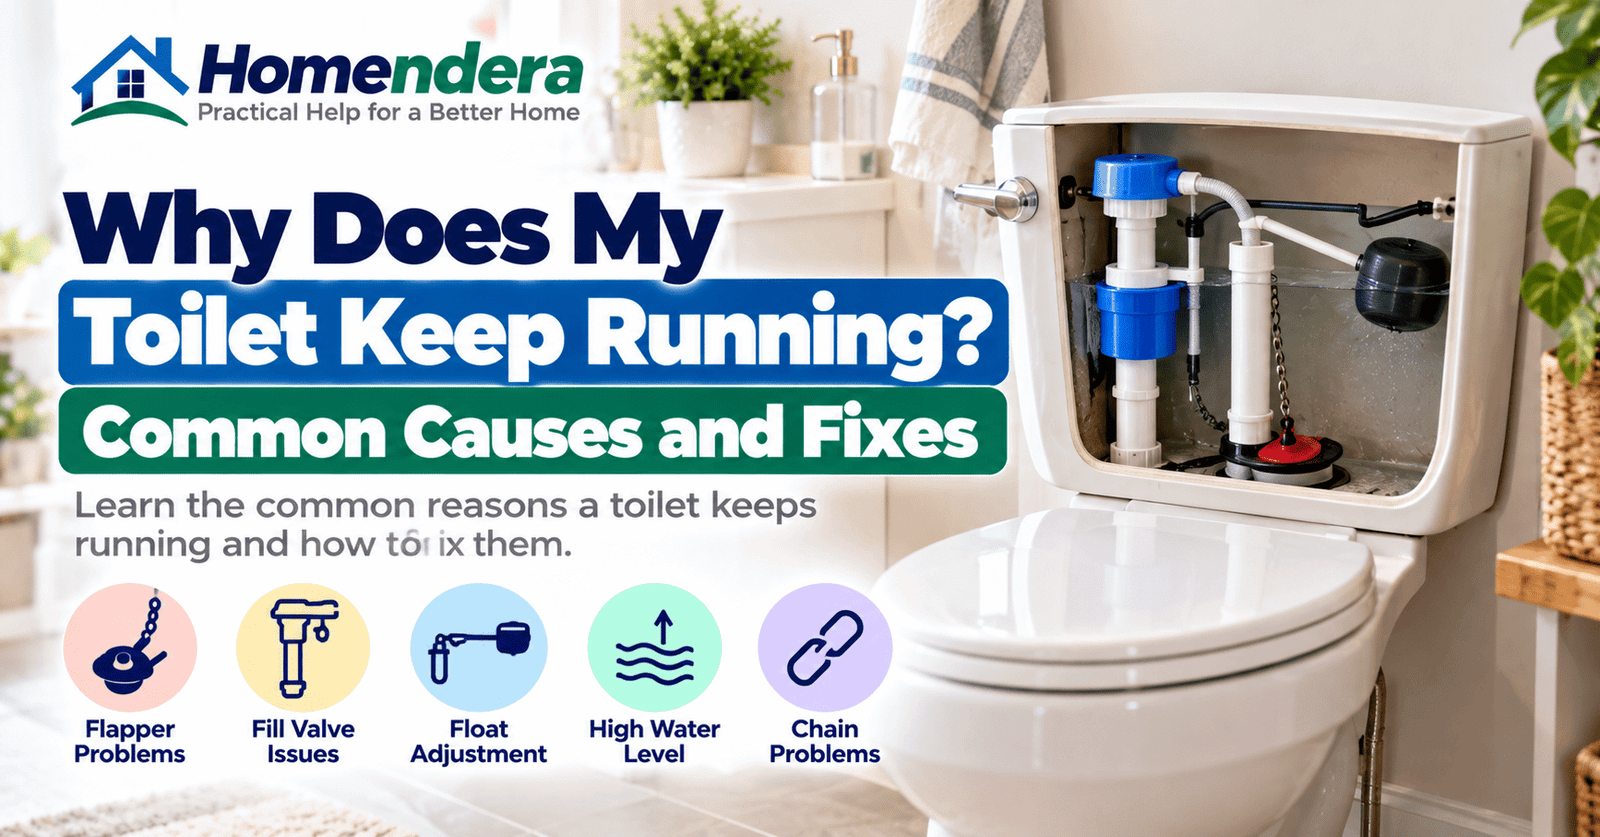
A toilet that keeps running can waste water and become an annoying background noise. Sometimes the problem is simple, such as a flapper that does not seal properly. In other cases, the fill valve, float, chain, or another tank component may need attention.
Fortunately, many running-toilet problems can be investigated without removing the toilet or working on complicated plumbing.
This guide explains why a toilet keeps running, what you can safely check, and when it makes sense to call a plumber.
How a Toilet Tank Works
Understanding the basic flushing process makes troubleshooting easier.
When you press the handle, the flush mechanism lifts the flapper or another type of flush valve seal. Water flows rapidly from the tank into the bowl.
Afterward, the seal closes and the tank begins refilling.
The fill valve allows fresh water into the tank until the water reaches the correct level. A float helps control when the valve shuts off.
If one part fails to close, seal, or adjust correctly, water may continue flowing.
1. Check Whether the Flapper Is Sealing
A worn or poorly seated flapper is a common reason a toilet continues running.
The flapper normally closes the opening at the bottom of the tank after each flush. If it cannot form a proper seal, water slowly leaks into the bowl.
Remove the tank lid carefully and watch the flapper after flushing.
Look for:
- Visible deterioration
- Warping
- Mineral buildup
- An uneven position
- Debris around the sealing surface
- A flapper that does not fully close
If gently repositioning it stops the water flow, the flapper or its alignment may be the problem.
2. Inspect the Flapper for Wear
Rubber and similar materials can deteriorate over time.
A flapper may become:
- Brittle
- Cracked
- Distorted
- Soft or deteriorated
- Covered with deposits
If it no longer seals properly, replacement may be necessary.
Replacement flappers are not universal. Check the toilet or flush-valve design before buying one.
Manufacturer information can help you identify the correct replacement component.
3. Check the Flush Chain
The chain connects the toilet handle mechanism to the flapper on many toilets.
If the chain is too short, it may prevent the flapper from closing completely.
If it is excessively long, it can become tangled or caught beneath the flapper.
With the tank full and the flapper closed, the chain should normally have enough slack to allow the seal to sit properly without becoming so loose that it interferes with operation.
Make small adjustments rather than dramatically changing its length.
4. Look for a Sticking Flush Handle
Sometimes the problem begins outside the tank.
A flush handle that sticks in the downward position can keep tension on the chain and prevent the flapper from closing.
Operate the handle several times.
It should move smoothly and return to its normal position after you release it.
If it sticks, inspect the handle mechanism inside the tank for obvious interference or looseness.
Avoid overtightening plastic or delicate components.
5. Check the Tank Water Level
Look at the water level after the tank finishes filling.
Many toilets have a marked fill line inside the tank. The correct level varies by model.
If the water rises too high, it may continuously enter the overflow tube.
This creates a running sound even though the flapper may be sealing correctly.
If you can see water flowing into the top of the overflow tube, investigate the fill level and fill-valve operation.
6. Inspect the Float
The float tells the fill valve when the tank has enough water.
Different toilets use different designs. Some have a float cup attached to the fill valve, while older systems may use a float ball on an arm.
A float may cause problems if it:
- Sticks
- Is incorrectly adjusted
- Rubs against another component
- Cannot move freely
- Fails to shut off the fill valve at the proper level
Move the float gently and observe whether the water stops.
Do not force components that appear damaged or stuck.
7. Check the Fill Valve
If the float appears to work but water continues entering the tank, the fill valve may not be shutting off correctly.
Possible signs include:
- Continuous water flow
- Hissing after the tank should be full
- Inconsistent tank levels
- Water entering the overflow tube
- A valve that responds poorly to float movement
Some fill valves allow straightforward adjustments. Others may need replacement when internal parts wear out.
Follow the toilet or fill-valve manufacturer’s instructions for adjustment or replacement.
A faulty fill valve may also produce a continuous or intermittent hissing sound. Our guide on why your toilet makes a hissing noise explains how to identify the sound and check its possible causes.
8. Inspect the Overflow Tube
The overflow tube prevents the tank from overfilling.
Under normal conditions, the tank’s water level should remain below the top of the tube according to the toilet manufacturer’s specifications.
If water continuously spills into it, the problem may involve:
- An incorrectly adjusted float
- A malfunctioning fill valve
- An incorrect water level
Do not try to solve the problem by blocking or modifying the overflow tube. It performs an important protective function.
9. Check the Refill Tube
A small refill tube commonly directs water from the fill valve toward the overflow tube during the refill cycle.
Its position matters.
If it is incorrectly installed or pushed too far into the overflow tube, it may contribute to unwanted siphoning or improper operation on some toilet designs.
Check how the manufacturer specifies the tube should be positioned.
Usually, it should be secured appropriately rather than pushed deeply into the overflow pipe.
10. Listen for Intermittent Running
Some toilets do not run continuously.
Instead, you may hear the fill valve activate briefly every few minutes or at irregular intervals.
This often means the tank is slowly losing water and then refilling.
A leaking flapper or flush-valve seal is one possible cause.
Watch the tank when the toilet has not recently been used. If the fill valve periodically activates on its own, investigate for a slow internal leak.
11. Try a Simple Dye Test
If you suspect tank water is leaking into the bowl but cannot see it, a simple test may help.
When the toilet is not going to be used for a short period:
- Allow the tank to fill completely.
- Add a small amount of suitable food coloring to the tank water.
- Do not flush.
- Wait approximately 15–30 minutes.
- Check the bowl.
If colored water appears in the bowl without flushing, water is leaking from the tank into the bowl.
This points toward the flush valve area, often the flapper or seal.
Clean or flush afterward so the coloring does not remain in the fixture.
12. Look for Mineral Deposits
Hard water can leave mineral deposits on toilet components.
Deposits around the flapper seat or moving parts may interfere with proper sealing or movement.
Inspect accessible components for buildup.
Use cleaning methods and products suitable for the toilet materials. Avoid aggressive tools or chemicals that could damage seals, plastic parts, or the porcelain surface.
13. Know When the Flapper Is Not the Problem
It is easy to assume every running toilet needs a new flapper.
However, replacing a good flapper will not solve:
- Excessively high tank water
- A faulty fill valve
- A sticking float
- An incorrectly positioned refill tube
- A damaged flush-valve assembly
- Other internal component problems
Observe what the toilet is actually doing before replacing parts.
Good troubleshooting usually saves both time and unnecessary purchases.
14. Check for Water Outside the Toilet
A running toilet usually involves water moving internally from the tank toward the bowl.
Water appearing on the floor is a different problem and deserves immediate attention.
Check around:
- The tank
- Supply connection
- Shutoff valve
- Base of the toilet
- Nearby flooring
If you find water outside the fixture, identify the source before continuing to use the toilet.
Our guide on how to find a water leak in your home explains additional signs and basic investigation steps.
15. Know Where the Shutoff Valve Is
Most toilets have a local water shutoff valve on the supply line near the fixture.
Knowing its location is useful before working inside the tank.
If a component breaks or water begins flowing unexpectedly, shutting off the supply can help prevent a larger problem.
Do not force an old or corroded valve.
If the valve will not move, leaks when touched, or appears badly deteriorated, a plumber may need to service it.
16. Be Careful With the Tank Lid
Toilet tank lids can be heavier and more fragile than they appear.
Remove the lid with both hands and place it on a stable, protected surface.
Do not balance it on the edge of the bathtub, sink, or toilet.
A cracked or broken lid can be difficult to replace with an exact match.
17. Avoid Overtightening Toilet Components
Many toilet tank parts contain plastic, rubber, porcelain, or other materials that can be damaged by excessive force.
Overtightening can:
- Crack plastic fittings
- Damage seals
- Strip threads
- Damage porcelain
- Create new leaks
Tighten adjustable components only as required by their instructions.
If a connection continues leaking despite correct installation, investigate the seal rather than simply applying more force.
18. When Should You Replace Tank Components?
Replacement may make sense when a component is visibly damaged or cannot operate correctly after appropriate adjustment.
Common replaceable parts include:
- Flappers
- Fill valves
- Flush handles
- Chains
- Certain seals
- Float-related components
Before buying a replacement, identify the toilet model or measure the relevant component where necessary.
Universal-looking parts do not necessarily fit every toilet.
19. When Should You Call a Plumber?
A plumber may be the better choice when:
- The toilet continues running after basic checks
- The shutoff valve is damaged or leaking
- Water appears around the toilet base
- The tank or bowl is cracked
- Internal components are badly corroded
- The flush-valve assembly requires more extensive work
- Several plumbing fixtures are behaving unusually
- You are unsure how to safely isolate the water supply
Repeated problems can also indicate that replacing one small component is not addressing the real cause.
20. Prevent Future Running-Toilet Problems
You do not need to dismantle the toilet regularly.
Instead, pay attention to changes in how it sounds and operates.
Occasionally:
- Listen after flushing
- Check that the tank stops filling
- Watch for unexpected refilling
- Look for water around the fixture
- Check that the handle moves freely
- Investigate unusual changes promptly
Small plumbing problems are usually easier to deal with before they become larger ones.
Our broader guide to common plumbing problems at home covers other household warning signs worth recognizing.
A running toilet usually involves components inside the tank. However, water collecting around the bottom of the fixture may indicate a different problem. Read our guide to toilet leaking at the base for common causes and warning signs.
Final Thoughts
If you are wondering why your toilet keeps running, start inside the tank.
Check whether the flapper closes correctly, the chain moves freely, the float reaches the correct position, and the fill valve stops the water at the appropriate level. Also watch for water entering the overflow tube.
Avoid replacing parts before identifying the likely cause.
Many running-toilet problems involve simple tank components. However, leaks outside the fixture, damaged shutoff valves, cracked porcelain, or persistent problems deserve professional attention.
Fixing the problem promptly can stop unnecessary water use and prevent a small plumbing issue from being ignored.