
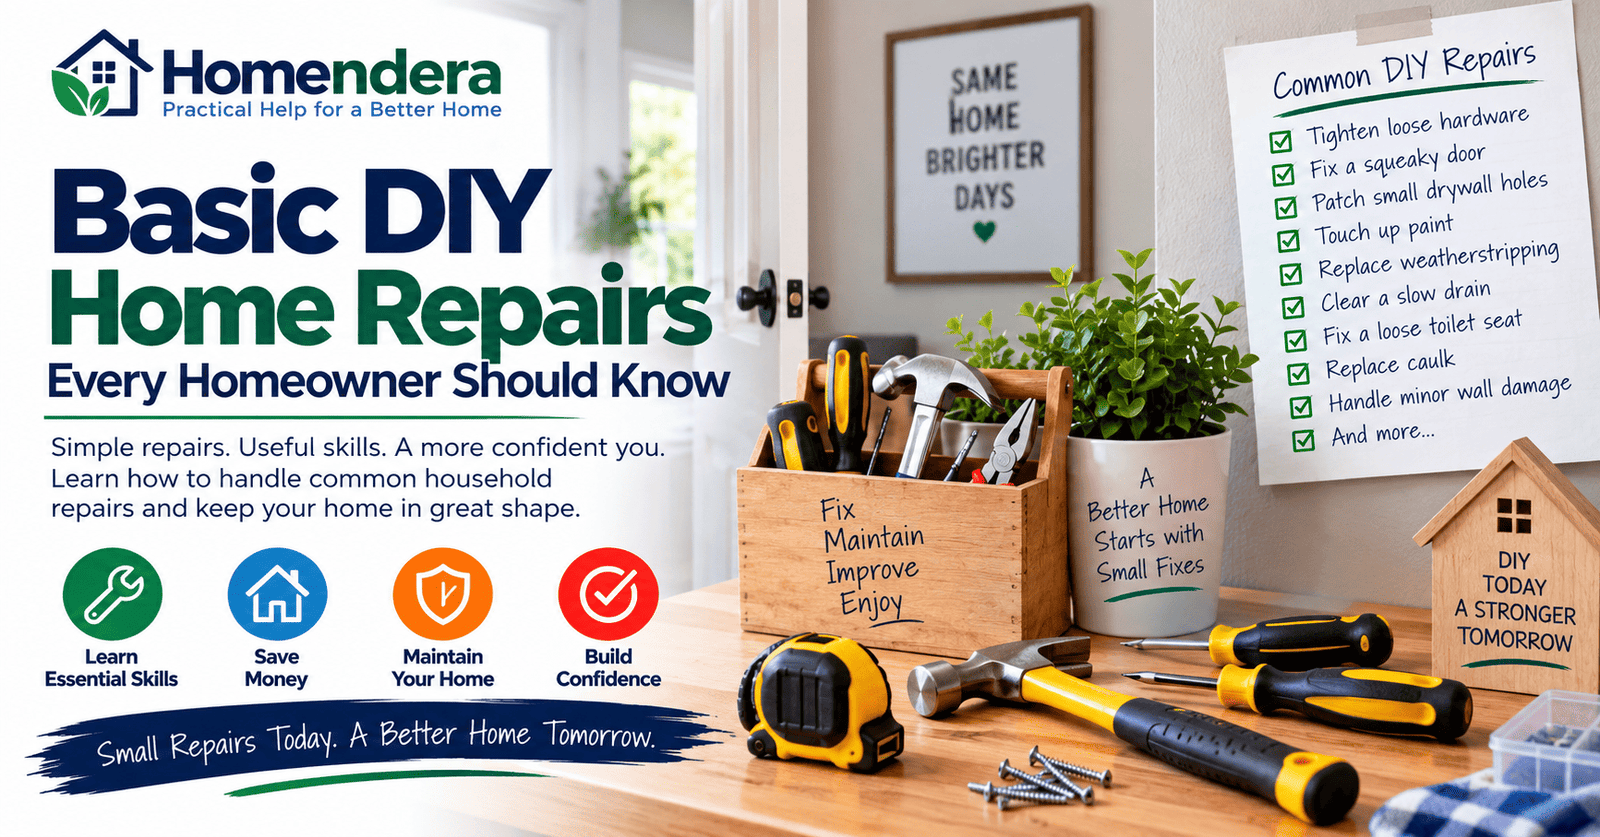
Small problems are part of owning a home. A door may start squeaking, a screw can become loose, or a small hole may appear in drywall. Many minor issues do not require a major repair project.
Learning a few basic DIY home repairs can help you deal with suitable household problems before they become more inconvenient. It can also help you understand your home and recognize when a repair is beyond ordinary DIY work.
The key is knowing your limits. A simple repair and a potentially dangerous job are not the same thing. Electrical faults, gas systems, structural problems, major HVAC work, serious water damage, and other high-risk situations may require qualified professionals.
If you are building your overall home-care routine, start with our Home Maintenance Checklist: Essential Tasks for Every Home.
What Makes a Repair Suitable for DIY?
A good DIY repair is usually straightforward, reasonably low-risk, and easy to stop if something does not go as planned.
Before starting, ask yourself:
- Do I understand what is causing the problem?
- Can I complete the repair safely?
- Do I have the correct tools?
- Do I know which materials are appropriate?
- Could a mistake cause significant damage?
- Does the work involve electricity, gas, structure, or another serious hazard?
- Could local rules require a licensed professional?
If you cannot confidently answer the important safety questions, investigate further before starting.
Knowing when not to DIY is an important home-repair skill.
1. Tightening Loose Cabinet Hardware
Cabinet handles and knobs can loosen with regular use.
In many cases, the repair is straightforward. Inspect the hardware and carefully tighten the appropriate fastener with the correct tool.
Avoid overtightening it.
Too much force can damage the screw, hardware, or cabinet material.
If a screw repeatedly becomes loose, tightening it again may not solve the underlying problem. The fastener or material may need a more appropriate repair.
2. Fixing a Squeaky Door
A squeaky door is one of the most familiar household annoyances.
The sound often comes from movement around the hinge area. Before applying anything, inspect the hinges and make sure the hardware is secure.
A suitable lubricant may help in some situations.
However, use a product intended for the application and protect surrounding finishes from drips.
If the door also sticks, drags, or appears misaligned, the problem may involve more than a squeaky hinge.
For a step-by-step approach, see our guide on how to fix a squeaky door.
3. Tightening Loose Door Handles
Door handles receive frequent use and can loosen over time.
Inspect the visible hardware and determine how the handle is secured. Some designs use exposed screws, while others use concealed fasteners.
Use the correct screwdriver or tool and tighten carefully.
If the handle remains loose or does not operate correctly afterward, the mechanism may be worn or damaged.
Exterior locksets and security hardware deserve additional care because proper operation affects home security.
4. Fixing a Door That Will Not Close Properly
A door that suddenly becomes difficult to close can have several causes.
Loose hinge screws, minor alignment changes, swelling, damaged hardware, or movement in the surrounding structure can all affect operation.
Start by observing where the door makes contact with the frame.
Then inspect visible hinges and hardware.
Avoid immediately cutting or sanding the door. Removing material before understanding the cause can create a larger gap when conditions change.
Our planned guide on how to fix a door that won’t close properly will explain the diagnostic process in detail.
5. Patching Small Holes in Drywall
Small nail holes and minor drywall damage are often manageable DIY repairs.
The appropriate method depends on the size and type of damage.
Very small holes may require a suitable patching compound, while larger damage can require additional support or patching material.
Preparation matters.
The surface should be suitable for the repair product, and the compound generally needs to dry properly before sanding or finishing.
For the complete process, see our guide on how to patch small holes in drywall.
6. Touching Up Minor Paint Damage
Small scuffs and marks can make an otherwise good wall look worn.
Before applying paint, clean the area appropriately and determine whether the surface needs minor preparation.
Matching the original paint can sometimes be harder than the actual painting.
Color, sheen, age, lighting, and application method can all affect how a touch-up appears.
For larger or highly visible areas, repainting a broader section may produce a more consistent result.
7. Replacing Worn Weatherstripping
Weatherstripping around doors and windows can deteriorate over time.
Damaged material may contribute to drafts or allow unwanted air movement.
Inspect the existing weatherstripping first. Identify its type and how it is attached before buying a replacement.
Remove and replace only material that is actually designed to be replaced this way.
A large or unusual gap may indicate an alignment or building issue rather than simply worn weatherstripping.
8. Replacing Deteriorated Caulk in Suitable Areas
Caulk is commonly used around certain joints in bathrooms, kitchens, windows, and other parts of a home.
Over time, it can crack, separate, or deteriorate.
Replacing appropriate caulk can be a manageable DIY project, but preparation is important.
Old material may need to be removed, and the surface should be prepared according to the new product’s instructions.
Do not assume every gap should be caulked. Some joints, drainage openings, and building components are intentionally designed differently.
9. Clearing a Simple Slow Drain
A slow sink or shower drain may result from accessible hair, soap residue, or other localized buildup.
Where the fixture design allows, removing accessible debris can sometimes restore normal drainage.
Use care around plumbing components and follow appropriate instructions.
Avoid treating every drainage problem with aggressive chemicals.
Recurring blockages, several slow fixtures, sewage odors, backups, or deeper drainage problems can indicate an issue that requires a plumber.
We will explore this further in our Plumbing cluster with a dedicated guide on how to unclog a slow-draining sink safely.
10. Fixing a Loose Toilet Seat
A loose toilet seat is usually more annoying than technically difficult.
Inspect how the seat attaches to the toilet. Depending on its design, the fasteners may be accessible from above, below, or through covers.
Carefully tighten them using the appropriate tool.
Do not use excessive force, particularly around ceramic fixtures.
If the fastener is damaged or corroded, replacement hardware designed for the particular seat may be necessary.
11. Cleaning Faucet Aerators
If water flow from a faucet becomes uneven, the aerator may sometimes contain debris or mineral buildup.
Where the faucet manufacturer allows homeowner removal, carefully remove and inspect the aerator.
Remember how the components fit together before disassembly.
Clean it according to appropriate manufacturer guidance and reinstall it without overtightening.
Low water pressure throughout the home is a different problem and may require broader troubleshooting.
12. Adjusting Simple Cabinet Doors
Cabinet doors can gradually become uneven.
Many modern cabinet hinges provide limited adjustment through their screws.
If your hinges are designed this way, small adjustments may improve alignment.
Make one change at a time and observe the result.
Do not force damaged hinges or repeatedly tighten screws into material that no longer holds them securely.
13. Repairing Minor Wall Surface Damage
Small dents, scratches, and superficial wall damage can often be repaired with basic preparation and an appropriate filler or patching product.
First determine what the wall is made from.
Drywall, plaster, masonry, wood, and other materials require different approaches.
A repair method suitable for one surface may perform poorly on another.
Large cracks or recurring damage should be investigated rather than repeatedly filled.
14. Replacing Simple Non-Electrical Hardware
Some worn household hardware is designed for straightforward replacement.
Examples may include certain cabinet pulls, hooks, door stops, or similar mechanical items.
Match the new hardware to the intended use and mounting surface.
Use appropriate fasteners rather than whatever screw happens to be available.
Be particularly cautious before drilling into walls. Hidden electrical wiring, plumbing, or other services may be present.
15. Fixing Minor Furniture Wobbles
A chair or table that wobbles may have loose hardware.
Inspect the joints and fasteners before attempting a repair.
Tightening accessible hardware may solve a simple problem.
However, cracked structural parts, broken joints, or badly damaged furniture may need a different repair method.
Furniture that supports significant weight should be stable before continued use.
16. Removing Minor Surface Scuffs
Not every mark requires repainting.
Some wall, door, or trim scuffs can be removed through gentle cleaning.
Start with the least aggressive method suitable for the surface.
Test cleaning products in an inconspicuous area when appropriate, and follow manufacturer instructions.
Harsh abrasives or chemicals can damage finishes that were easier to live with than the original mark.
17. Correcting Simple Trip Hazards
A loose mat, displaced object, or poorly positioned cable can create a household safety issue without requiring any construction work.
Walk through frequently used areas and look for avoidable hazards.
Secure or relocate items appropriately.
Do not use an improvised repair on damaged stairs, unstable railings, or structural flooring. Those conditions may require proper repair rather than a quick workaround.
18. Maintaining Basic Hand Tools
DIY becomes harder when tools are damaged or poorly maintained.
Keep frequently used tools clean and store them in a dry, appropriate location.
Inspect handles, cutting surfaces, electrical cords, batteries, and other components where applicable.
Do not continue using a damaged tool simply because the repair itself seems small.
Follow manufacturer instructions for tool maintenance and replacement parts.
Build a Small Basic DIY Tool Kit
You do not need a workshop full of equipment to handle simple household repairs.
A basic collection might include:
- Screwdrivers
- Pliers
- Adjustable wrench
- Tape measure
- Hammer
- Utility knife
- Level
- Flashlight
- Basic safety glasses
- Suitable work gloves
The exact tools you need will depend on your home and the tasks you intend to perform.
Buy tools because you have a genuine use for them, not because every homeowner tool list says you must own them.
Diagnose Before You Repair
One of the most useful DIY habits is learning to investigate before taking something apart.
Suppose a door will not close.
Cutting material from the edge may appear to solve the problem. But if a loose hinge caused the misalignment, altering the door itself could create a new problem.
The same principle applies throughout the home.
Ask what changed, where the problem originates, and whether the visible symptom is actually the cause.
Good diagnosis often saves more time than a quick repair.
Do Not Turn a Small Repair Into a Bigger Problem
DIY mistakes often happen when someone continues after the original plan stops working.
A screw strips. A fitting will not move. The replacement part does not fit. Something unexpected appears behind a cover.
That is a good time to stop and reassess.
Using additional force is not always the answer.
Research the particular component, consult manufacturer instructions where available, or get professional help before causing additional damage.
Repairs You Should Approach With Extra Caution
Some home repairs carry risks that are very different from patching drywall or tightening hardware.
Be particularly cautious with work involving:
- Electrical wiring and panels
- Gas appliances or gas lines
- Structural components
- Major plumbing failures
- Roofing and dangerous heights
- Refrigerants
- Combustion equipment
- Extensive water damage
- Suspected hazardous materials
Local laws may also restrict certain work to licensed professionals.
Safety should take priority over saving the cost of a service call.
DIY Repair or Professional Help?
The decision is not always obvious.
Consider the possible consequences if the repair goes wrong.
A poorly finished wall patch may simply look unattractive. A mistake involving gas, structural support, or electricity can have far more serious consequences.
Think about your knowledge, tools, access, local requirements, and the potential severity of failure.
Our upcoming article DIY vs Professional Repair: When Should You Call a Professional? will provide a more detailed framework for making that decision.
Prevent Repairs Through Regular Maintenance
The best DIY repair is sometimes the one you never need to make.
Regular inspections can identify small problems while they are still manageable.
Look for moisture, loose hardware, deteriorated seals, unusual sounds, drainage changes, and other warning signs during routine maintenance.
You can also review our Common Home Maintenance Mistakes and How to Avoid Them guide for habits that may help prevent unnecessary problems.
Keep Notes About Repairs
You do not need detailed records for every tightened screw.
However, record repairs that may matter later.
Useful information can include the date, materials used, replacement part numbers, paint colors, photographs, and whether a problem has happened before.
This becomes particularly valuable when a supposedly minor problem keeps returning.
Recurring issues often deserve more investigation than another temporary fix.
Final Thoughts
Learning basic DIY home repairs can make everyday homeownership easier.
Start with manageable tasks. Tighten loose hardware, maintain simple components, patch minor surface damage, and learn how your home normally operates.
At the same time, avoid treating every household problem as a DIY challenge.
The best home repair decision is not always the one that avoids calling a professional. It is the one that addresses the problem appropriately without creating unnecessary risk.
Build your skills gradually, use the correct tools and materials, follow manufacturer instructions, and know when to stop.